To start with custom personalization, you need to perform the below steps:
Step 1: Go to the path /sitecore/system/Settings/Rules/Definitions/Tags right-click on Tags and add new customize Tag (I have given name CustomPersonalization):
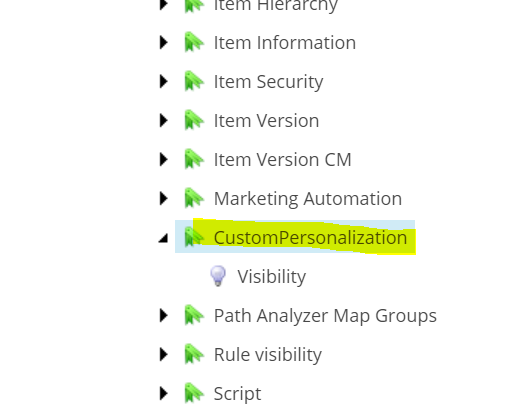
Step 2: Go to the path /sitecore/system/Settings/Rules/Conditional Renderings and expand conditional rendering and add created tag into the Tags property of default tag as below:

Step 3: Go to the path /sitecore/system/Settings/Rules/Definitions/Elements
Right-click on Elements and add new Element folder (I have given the name
CustomPersonalization).
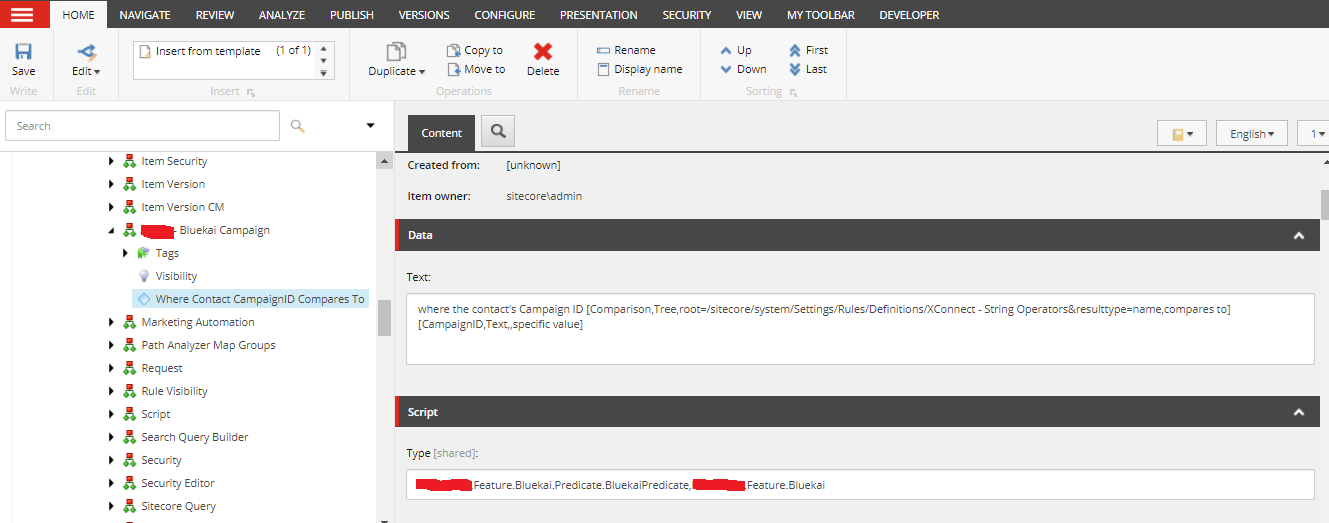
Right-click on CustomPersonalization and add new condition and set
the Text and Type property of condition.
Text Property: Give the condition with Rule which will show to the content editor.
Type Property: Specify our class name with a namespace followed by the
assembly name, where we will write our personalization rule business
logic.

Step 4: Now you need to add created tag into default tag, Tags property of element folder:

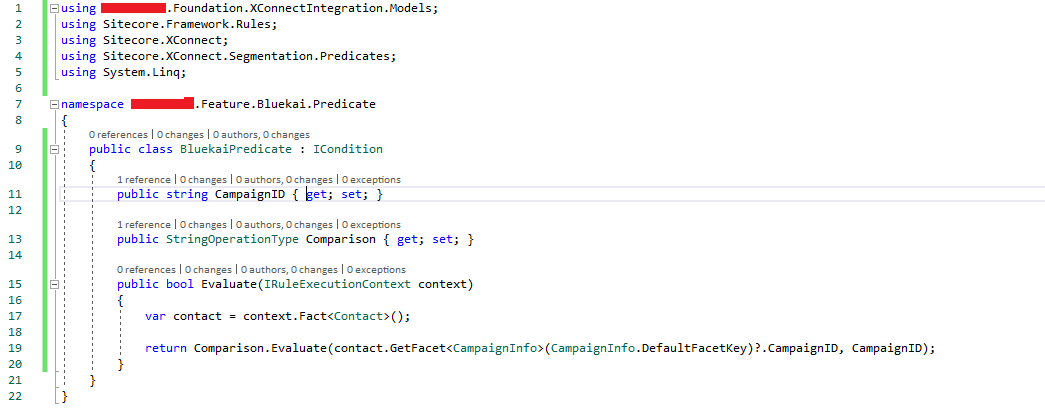
Step 5: Write your personalization rule business logic as below or update your code as per requirement:
public class PersonaliseRuleService<T> : StringOperatorCondition<T> where T : RuleContext
    {
        public string Value { get; set; }
        protected override bool Execute(T ruleContext)
        {
            Assert.ArgumentNotNull(ruleContext, "ruleContext");
            HttpCookie customCookie = HttpContext.Current.Request.Cookies["Custom_Personalization"];
        if (Value.ToLower().Equals(customCookie.Value.ToLower()))
            {
                return true;
            }
            return false;
        }
    }
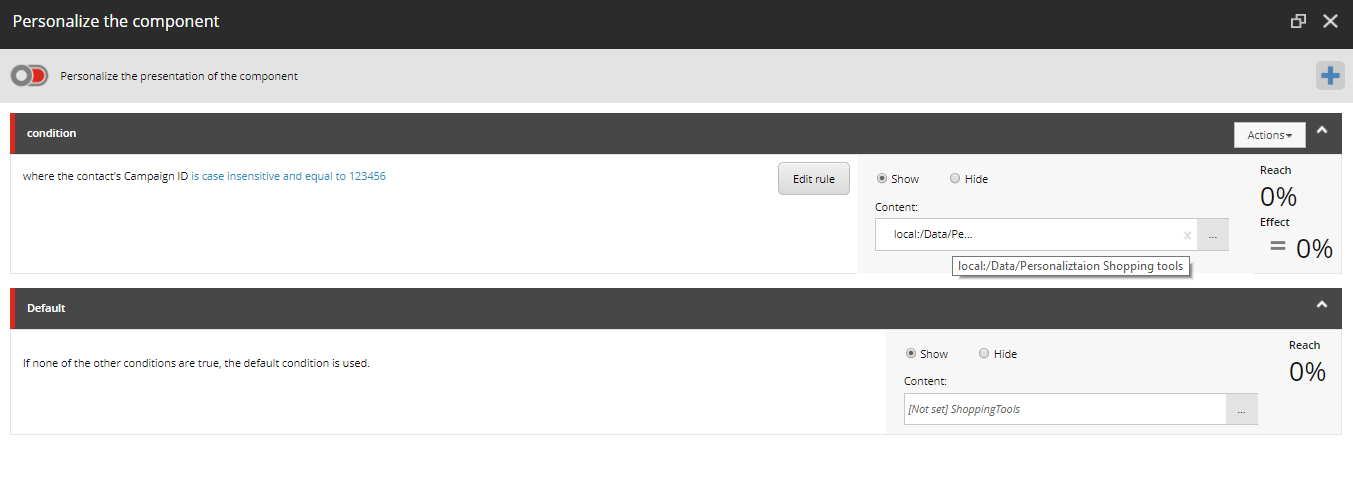
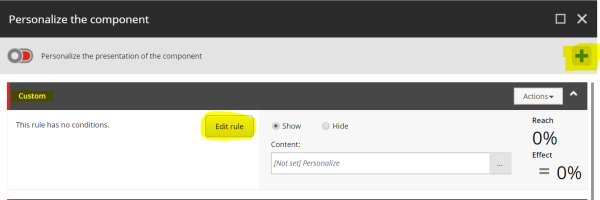
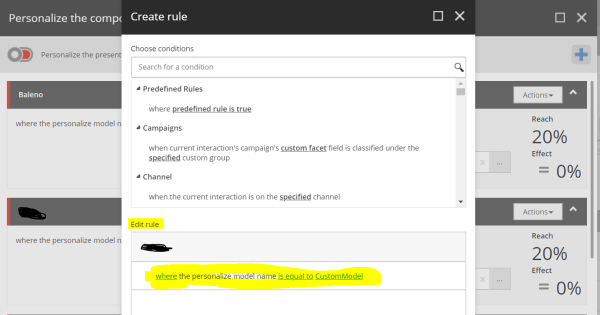
Step 6: After completion of all above change, you need to set your personalization rule on the component using experience editor. Go to the page presentation details and select that rendering and click on personalize section. Add your personalization rule and select Edit rule then select our created rule and update the data source from the content property.

Same you can create a more custom rule to show relevant content to the visitor.
For more details, see Blog Post: Custom Personalization Rules in Sitecore 9
